Install Ruby with Frum
The Ruby version manager Frum is no longer maintained. See recommended alternatives.
A version manager lets you install multiple Ruby versions and switch among them. You need a version manager when you maintain applications that require different Ruby versions or when you want to test code against new Ruby releases before upgrading. Without a version manager, you are stuck with a single Ruby version.
Frum was an innovative and recommended choice as a Ruby version manager in 2021. Frum is no longer maintained (the last update was in November, 2021). I now recommend Mise or rv. Mise is good for managing multiple languages, for example if you are developing Rails web applications (which require Ruby and Node) or if you are using multiple languages such as Ruby, Node, and Python. For a version manager that is similar to Frum and fast (written in Rust), install rv if you need to manage only Ruby versions. See Choose a Ruby Version Manager for Mac.
If you are a casual user and won't be using Ruby frequently, you can use Homebrew to install Ruby. See the page, Install Ruby with Homebrew.
Before you get started
Take a minute to subscribe to Ruby Weekly, an email roundup of Ruby news and blog posts. I stay up to date with Ruby Weekly, as do 39,000 other developers. You can subscribe for free.
Frum as it was in 2021
Frum is no longer maintained but I'm preserving this article for reference.
Frum is written in Rust, a good language for fast command line execution of system software. It was first released in early 2021. Unlike asdf, chruby, or rbenv, it includes a built-in Ruby installer command so there's no extra program needed to install Ruby. The installer is fast and Frum requires no dependencies (it is an all-in-one Rust executable you can install with Homebrew). The Frum version manager is added to your shell to intercept any calls to Ruby. After you install Frum, you must modify your ~/.zshrc file so Frum runs in your local shell environment. Like the other version managers, it checks for a .ruby-version file in a project directory and, if there's no version specified for a project, it will default to a global Ruby version. There are no shims (unlike Asdf or Rbenv) and it doesn't override the cd command (unlike RVM).
Here are instructions for installing Frum and Ruby.
Mac system Ruby
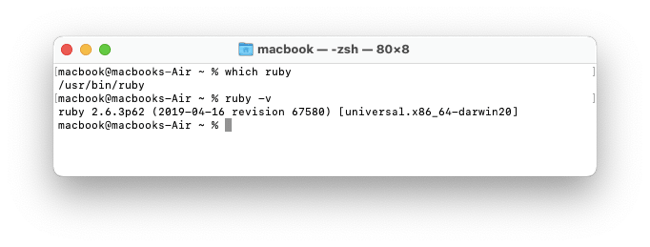
macOS comes with a "system Ruby" pre-installed. macOS Sequoia includes Ruby 2.6.10 which is not the newest version. It is a bad idea to use the Mac system Ruby. See the article Do Not Use the MacOS System Ruby for an explanation. You can see the system Ruby with which ruby and ruby -v.
Leave the system Ruby in place and install the Frum version manager and the newest Ruby version.
First steps to install Ruby with frum
You may want to check the macOS version. Take the time to make sure your operating system is up to date and update macOS to the latest macOS version. Then Set Up a Mac Like a Pro with all the best settings and preferences.
You may have already installed Xcode Command Line Tools and Homebrew, the macOS software package manager. Install Homebrew if you haven't done so, and run brew doctor to make sure it is ready.
Install OpenSSL
Many Ruby gems and Rails workflows depend on OpenSSL, and Ruby ships OpenSSL support by default, but it still needs a compatible system OpenSSL installation to work correctly. Before you install frum, use Homebrew to install OpenSSL.
$ brew install openssl
Verify that OpenSSL is available by running brew list openssl:
$ brew list openssl
/opt/homebrew/Cellar/openssl@3/3.0.1/.bottle/etc/ (7 files)
/opt/homebrew/Cellar/openssl@3/3.0.1/bin/c_rehash
/opt/homebrew/Cellar/openssl@3/3.0.1/bin/openssl
/opt/homebrew/Cellar/openssl@3/3.0.1/include/openssl/ (135 files)
/opt/homebrew/Cellar/openssl@3/3.0.1/lib/libcrypto.3.dylib
/opt/homebrew/Cellar/openssl@3/3.0.1/lib/libssl.3.dylib
/opt/homebrew/Cellar/openssl@3/3.0.1/lib/engines-3/ (3 files)
/opt/homebrew/Cellar/openssl@3/3.0.1/lib/ossl-modules/legacy.dylib
/opt/homebrew/Cellar/openssl@3/3.0.1/lib/pkgconfig/ (3 files)
/opt/homebrew/Cellar/openssl@3/3.0.1/lib/ (4 other files)
/opt/homebrew/Cellar/openssl@3/3.0.1/share/doc/ (784 files)
/opt/homebrew/Cellar/openssl@3/3.0.1/share/man/ (5472 files)
There were issues with OpenSSL for Ruby in 2021 but apparently OpenSSL issues were resolved with the release of Ruby 3.2.
Install Frum
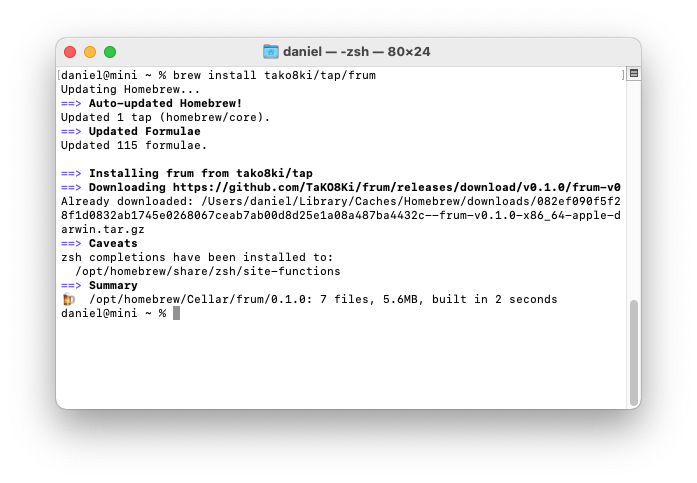
Use Homebrew to install the Frum Ruby version manager.
$ brew install frum
You'll see beer mug emojis as Homebrew installs the utility.
Verify that Frum is available by running brew list frum:
$ brew list frum
/opt/homebrew/Cellar/frum/0.1.2/.crates.toml
/opt/homebrew/Cellar/frum/0.1.2/.crates2.json
/opt/homebrew/Cellar/frum/0.1.2/bin/frum
/opt/homebrew/Cellar/frum/0.1.2/etc/bash_completion.d/frum
/opt/homebrew/Cellar/frum/0.1.2/share/fish/vendor_completions.d/frum.fish
/opt/homebrew/Cellar/frum/0.1.2/share/zsh/site-functions/_frum
We must add Frum to the system environment before we can use it to manage Ruby versions.
Add Frum to the .zshrc file
Edit the ~/.zshrc file in your text editor. If you haven't installed a text editor, use the macOS TextEdit application. Here's a shortcut to open the file in TextEdit from the Terminal:
$ open -e ~/.zshrc

Add a shell configuration command for Frum:
### ~/.zshrc~
# enable frum
eval "$(frum init)"
The first two lines (with the hash characters) are comments. The third line makes the Frum program available in the shell.
Save the file.
Important: Close and reopen the Terminal window for the changes to the ~/.zshrc file to be recognized.
After closing and reopening the Terminal window, use frum -h to check that Frum was installed successfully.

Next we'll install Ruby.
Install Ruby
Frum has its own Ruby installation command. No extra software is needed to install Frum.
Use the command frum install -l to list all available Ruby versions.
$ frum install -l
Use frum install 4.0.2 to install the newest Ruby version.
$ frum install 4.0.2
You'll see diagnostic messages and progress updates. Installation is faster with Frum than other installers; it will take a few minutes.

Important: After installation, close and re-open the terminal window.
Verify that the newest version of Ruby is installed with ruby -v.
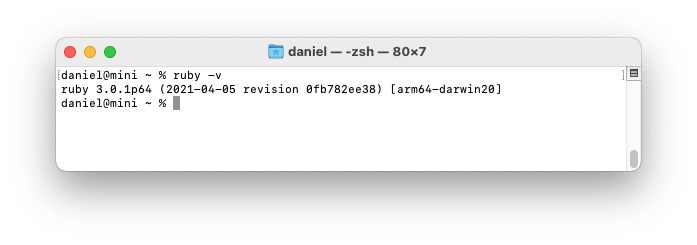
If you see Ruby version 2.6.10, it is the system Ruby and you likely forgot to close and re-open the terminal window.
The article Uninstall Ruby section explains where Ruby versions are installed and how to remove them. To remove a Ruby version with Frum, use frum uninstall 4.0.2.
Use Frum
Set a default Ruby version with frum global 4.0.2.
See which Ruby versions are installed and which is the current version with frum versions.
$ frum global 4.0.2
$ frum versions
* 4.0.2
If you have more than one Ruby version installed and you want to switch temporarily from the default Ruby version, use (for example) frum local 2.7.3.
You can add a .ruby-version file to any project directory to force Frum to switch versions when you enter a project folder. The .ruby-version file simply contains a version number, for example 4.0.2.
Uninstall Frum
You can uninstall frum:
$ brew uninstall frum
Continue setting up your Mac
Don't miss the full visual roadmap and checklist that shows how to set up a Mac for software development, with all the essential tools and settings you might not yet know about.